Für Arduino, ESP8266, ESP32 und Raspberry Pi
Lerne wichtige Grundlagen und Skills für Fortgeschrittene – online und in deinem eigenen Tempo.
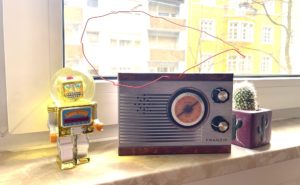
Spannende Projekte aus den Bereichen Smart Home, Internet of Things und Künstliche Intelligenz.
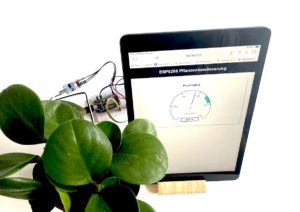
Vielfältige Projekte für kleine und große Maker – und sicher nicht nur für Einsteiger.
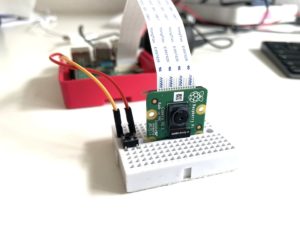
Was kommt wohin und wie funktioniert es? In den Tutorials erfährst du mehr.
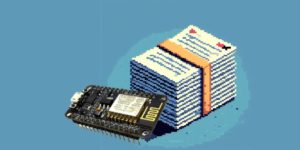
Brauchen deine Projekte mehr Power? Hier findest du spannende Ideen für deinen Raspberry Pi.